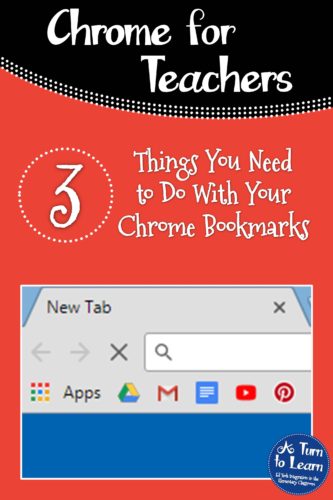
Last week, I talked about the top three reasons that bookmarks are one of my favorite features of Chrome, but this week I wanted to share with you three things that you need to do with your bookmarks in Chrome.

1. Make Each Bookmark a Small Picture
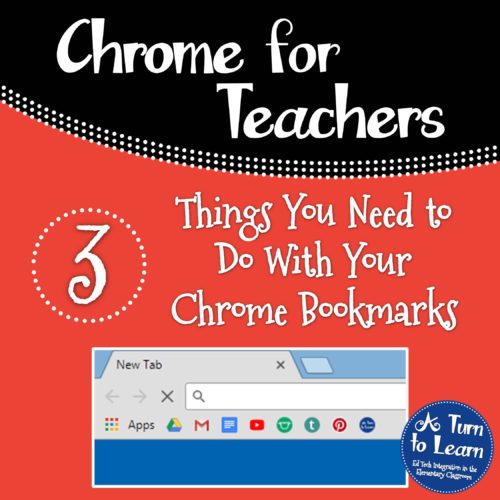
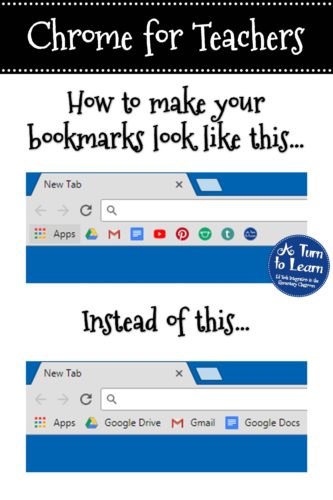
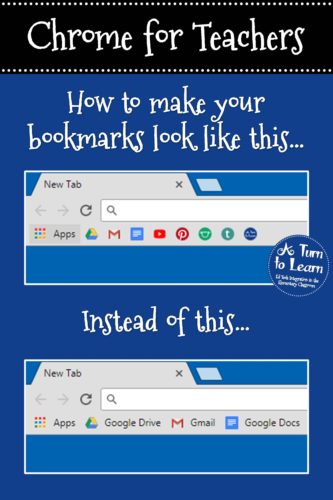
This week, I thought I’d start with my favorite trick! When you go to add a bookmark in Chrome, the entire text of the website title is going to be added to your bookmark as well. Now, sometimes some of this text is helpful so that I remember exactly what the website is, but for websites I visit frequently, I find it easier to just look at the website’s logo. I particularly like to use this option on my bookmark bar since it lets me access the links to even more of my favorite websites.

To add bookmarks as just a small icon in your bookmark bar, do the following:
- Add a bookmark by pressing the star in the top right hand corner of your omnibox (where you’d type a URL into Chrome).
- Where it says “Name,” delete all of the text.
- Check to make sure “Folder” is listed as “Bookmark Bar.”
- Press “Done.”
If you’re a more visual person, this video will walk you through exactly how to make your bookmark show up as a small picture.
2. Delete Old Bookmarks
I feel like this probably goes without saying, but every once in a while I look through my bookmarks and find things that I no longer need to access (or perhaps even added to my bookmarks accidentally!) In fact, I have certain students who like to bookmark pretty much every website that we visit… and somehow end up bookmarking the same website multiple times and wasting space in their bookmarks bar.
It’s so important to go through your bookmarks and delete the ones you no longer need. This will help make sure that your bookmark bar is only filled with websites you actually need and want.
Here’s a video to walk you through exactly how to delete bookmarks you don’t need anymore!
3. Organize the Bookmarks You Still Need
After you’ve deleted the bookmarks you don’t use anymore, I highly recommend organizing any remaining websites. This will help to make sure the websites you use most are the easiest to access, and will make sure that other websites you want to save are grouped by topic or idea. Perhaps you want a folder with all the websites that go along with your spring unit or a big project you’re embarking on. Either way, organizing your bookmarks can really help increase your productivity when you’re looking for a specific website.
To organize your bookmarks in Chrome, do the following:
- Right click on your bookmark bar. (Watch this video to see how to right click on a Chromebook.)
- Click “Bookmark Manager.”
- Right click to add folders.
- Click and drag websites to rearrange bookmarks.
Those steps are definitely a lot easier to show on video, so check out this video to see exactly how to organize your bookmarks in Chrome!
Three Minute Challenge!
I actually want to end this post with a challenge for you! Take the next three minutes updating with your bookmarks (set a timer… I know you’re busy and time is of the essence!) Remove the text next to the icons in your bookmark bar, remove old bookmarks, and organize whatever you can before the three minute timer goes off! Let me know how it goes in the comments!


This is awesome! Thank you so much for this quick tutorial!Had no idea I could do this! SO much cleaner!